Ready to make your space look amazing with a DIY project? Building a floating shelf is a great way to add style and function. It’s one of the simplest DIY projects for beginners. These shelves can change how you display photos or organize your space.
Learning to make a floating shelf is easy. You need just a few hours and basic tools. I’ll guide you through it, so even if you’re new to DIY, you can make a shelf that looks like it’s from a design magazine.
Key Takeaways
- Floating shelves are beginner-friendly DIY home projects
- Requires minimal tools and can be completed in just a few hours
- Provides a cost-effective way to enhance home decor
- Versatile design works in almost any room
- Can support significant weight when properly installed
Essential Tools and Materials for Your Floating Shelf Project
Starting your diy home decor project can be thrilling. Making your own floating shelf is a great beginner woodworking project. It requires choosing the right materials and tools for success.
Wood Components and Hardware
Choosing the right materials is key for your floating shelf. I suggest using:
- 1 x 8 Southern yellow pine board (8 x 1.5 x 96 inches)
- 1/2-inch oak dowel (36 inches long)
- Wood screws (3-inch and 3/4-inch sizes)
- Wood glue for strong connections
Tools You’ll Need
For beginner woodworking projects, the right tools are crucial. Here’s what you’ll need in your workshop:
- Circular saw or table saw
- Drill/driver
- Random orbital sander
- Miter saw
- Measuring tape
- Pencil
“The right tools transform a complicated project into an enjoyable experience.” – Woodworking Enthusiast
Optional Finishing Materials
To take your diy home decor to the next level, consider these finishing touches:
- Minwax Gel Stain
- Pre-Stain Wood Conditioner
- Spray-on Polyurethane
- Sandpaper (various grits)
Pro tip: Always wear safety glasses and work gloves during your woodworking project!
Why Floating Shelves Are Perfect for DIY Home Decor
Floating shelves are a big win for easy home makeovers. They turn blank walls into chic storage spots that freshen up any room. Plus, they’re a budget-friendly way to spruce up your home without spending a lot.
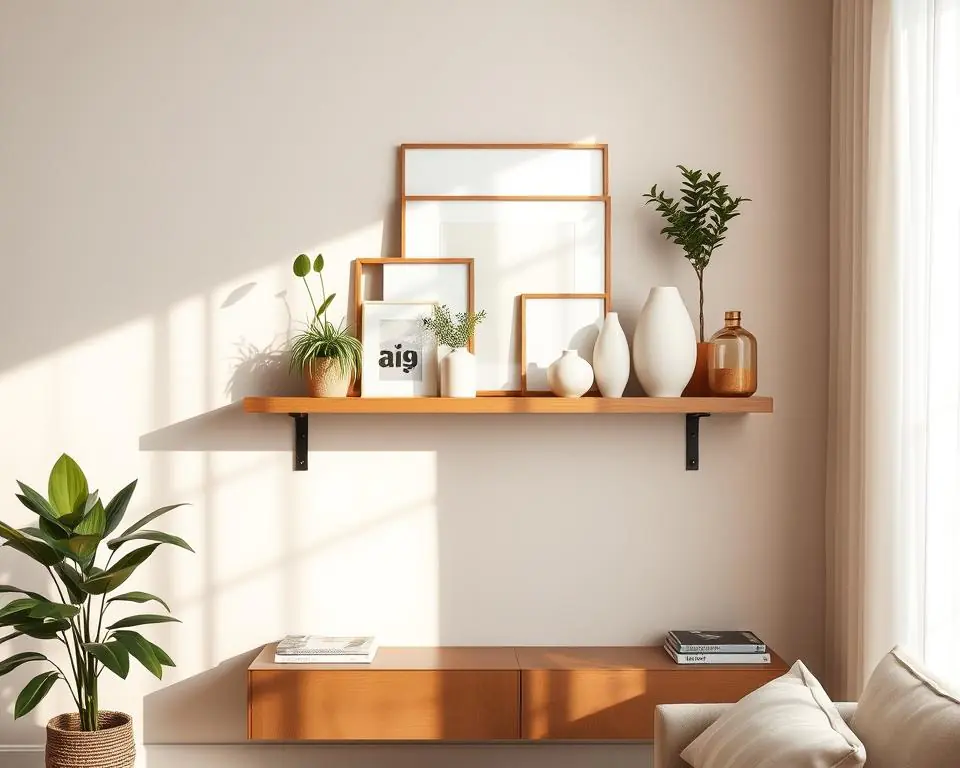
Picture a beautiful display area that’s sleek, modern, and all your own. Floating shelves make this vision come true. They’re not just shelves – they’re functional art pieces that make the most of your wall space.
“Floating shelves turn blank walls into personalized showcases of your unique style and personality.”
- Maximize vertical space without bulky furniture
- Create visual interest in any room
- Easily customizable to match your decor
- Simple to install with minimal tools
Floating shelves are incredibly versatile. They can hold family photos, books, or even plants. They fit well in living rooms, bedrooms, home offices, and even bathrooms.
| Room Type | Potential Shelf Use |
|---|---|
| Living Room | Book display, decorative items |
| Kitchen | Spice storage, cookbook display |
| Bedroom | Personal mementos, plants |
| Home Office | Organization, inspirational items |
Choosing floating shelves for your DIY project is a smart move. They’re both useful and stylish. They bring a clean, minimalist vibe that can instantly improve any space.
Preparing Your Workspace: Safety and Setup Tips
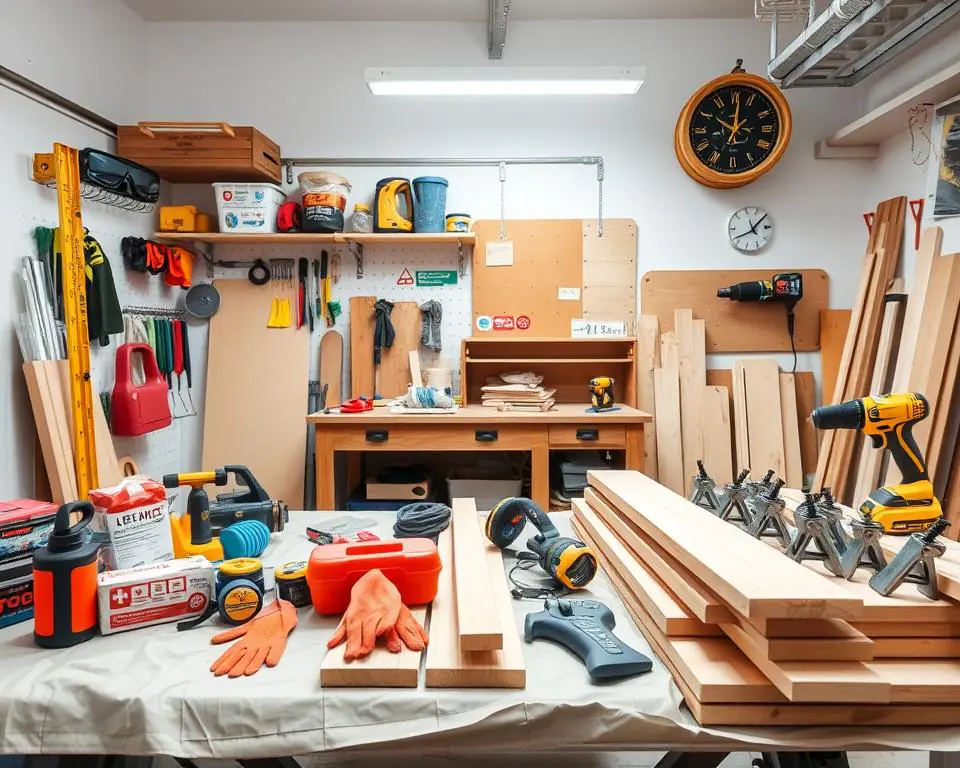
Starting a diy furniture makeover needs a well-prepared workspace. Your environment is key to the success and safety of your project. The right setup makes your DIY journey fun and stress-free.
Before starting your diy organization hacks, set up a safe and efficient work area. Good preparation stops accidents and keeps your project flowing smoothly.
Essential Safety Equipment Checklist
- Safety glasses to protect eyes from debris
- Work gloves for hand protection
- Dust mask to prevent inhalation of wood particles
- Ear protection for loud power tools
- First aid kit for emergency situations
Workspace Organization Guidelines
An organized workspace is crucial for successful diy furniture makeovers. Make a clean, well-lit area with enough space to move and work comfortably.
| Workspace Element | Recommended Setup |
|---|---|
| Lighting | Bright, even illumination to reduce eye strain |
| Work Surface | Stable workbench or sturdy table |
| Tool Organization | Arranged within easy reach, sorted by frequency of use |
| Material Placement | Clean, dry area away from potential damage |
“A well-organized workspace is the foundation of any successful DIY project.”
Pro tip: Lay out all materials and tools before starting. This helps ensure you have everything and avoids mid-project interruptions.
Understanding Wood Selection for Durability
Choosing the right wood is key for stunning floating shelves in upcycling projects. The wood you pick can greatly affect your DIY project’s look and how long it lasts.
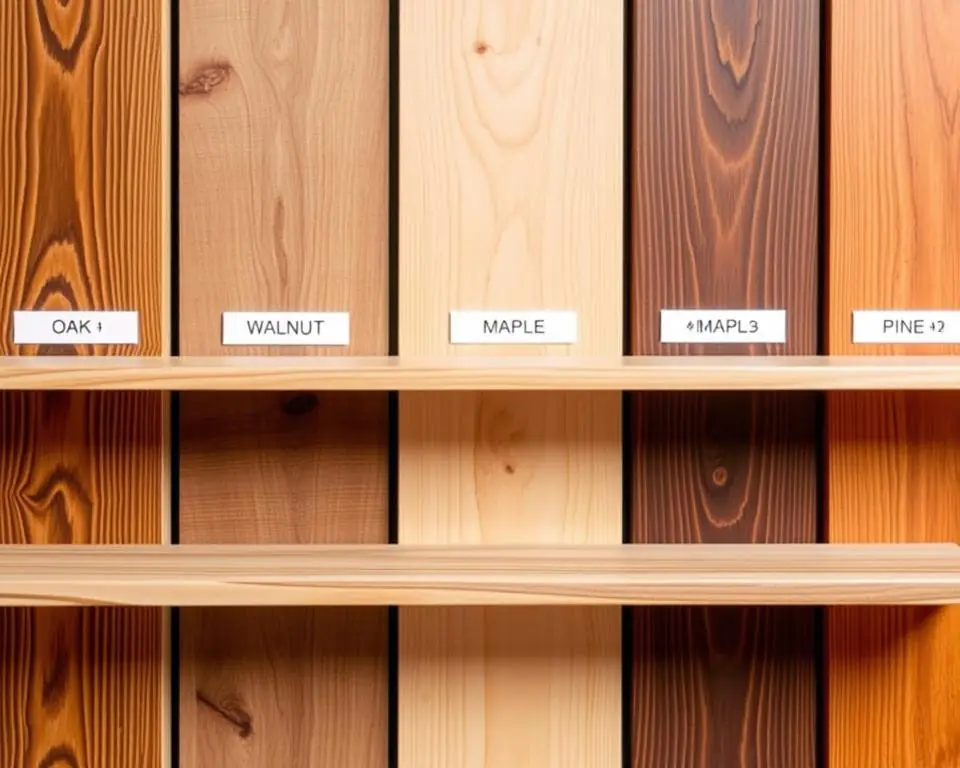
Various wood types bring unique qualities to your floating shelf design. Here are the top picks for your project:
- Oak: A powerhouse of durability with beautiful grain patterns
- Maple: Extremely hard and resistant to dents and scratches
- Pine: Budget-friendly and perfect for farmhouse-style interiors
- Walnut: Luxurious wood with rich tones and exceptional stability
“The right wood transforms a simple shelf from basic to extraordinary.”
Hardwoods usually beat softwoods in making floating shelves. They hold more weight and don’t warp as much from changes in the environment.
| Wood Type | Durability | Cost | Best Use |
|---|---|---|---|
| Oak | High | Medium | Classic, sturdy designs |
| Maple | Very High | High | Modern, sleek spaces |
| Pine | Low | Low | Beginner projects |
| Walnut | High | Very High | Luxury, statement pieces |
If you care about the environment, think about using reclaimed wood or FSC-certified options. These choices make beautiful shelves and help protect forests.
How to Build a Floating Shelf: Step-by-Step Guide
Are you ready to start a fun diy home project? Building a floating shelf is a great easy diy craft. It can change your space with little effort. I’ll show you how to make a beautiful shelf that looks like it was made by a pro.
- ½” 2×4′ white oak plywood panel
- 1x2x8′ board for support frame
- Wood screws (1½” to 3″)
- Wood glue
- Wood stain and sealer
Cutting and Measuring Instructions
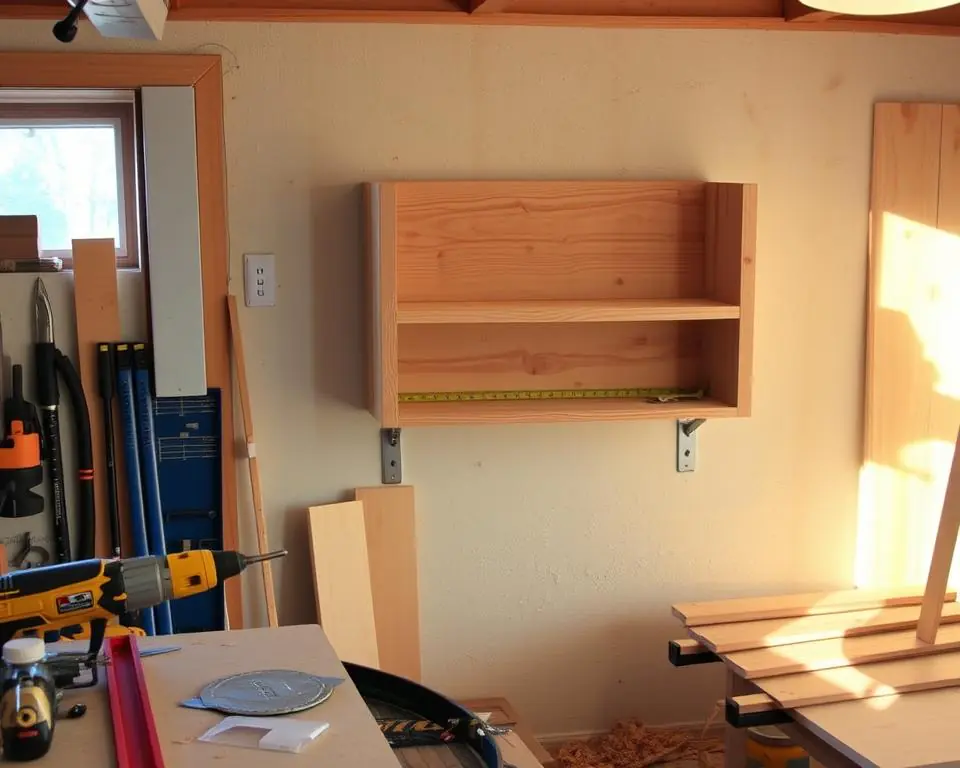
Being precise is key when making your shelf. Use a miter saw for accurate cuts. Pro tip: Always measure twice and cut once! Aim for a shelf depth of about 10 inches for the best look.
Taking your time with measurements will save you headaches later in the project.” – DIY Woodworking Expert
Assembly Techniques
Here’s how to put your shelf together:
- Cut your lumber into three equal parts
- Mark and drill holes for dowels
- Sand dowel ends for a snug fit
- Apply wood glue generously
- Secure pieces with screws
Mounting Bracket Installation
For a solid installation, follow these steps:
- Use a stud finder to locate wall studs
- Aim to secure into at least two studs
- Mount at a recommended height of 20 inches
- Use heavy-duty toggle bolts if stud placement is challenging
These easy diy crafts are all about practice and patience. Every shelf you make will make you better at diy home projects for beginners.
Creating Strong Support Brackets for Maximum Weight
Starting with beginner woodworking projects? Making strong support brackets is key for reliable floating shelves. The right design can make simple projects look professional.
Creating heavy-duty brackets needs precision and planning. Here are the must-haves for maximum support:
- Recommended bracket size: 24″ wide x 24″ long
- Incorporate a 45-degree brace for extra strength
- Use self-drilling screws to avoid wood splitting
“The strength of your shelf begins with the quality of its brackets” – DIY Woodworking Wisdom
For the best brackets, follow this cut list:
| Piece | Length | Cut Type |
|---|---|---|
| Main Piece | 24″ | Straight cut |
| Secondary Piece | 22.5″ | Angle cut |
| Brace | 32″ | 45-degree long cut |
DIY tip: Use 1-inch spacing blocks for exact bracket height. Choose the right screws for your project:
- #10 3 1/2″ screws for primary mounting
- #9 2 1/2″ screws for bracket arm connections
- #8 1 1/4″ screws for plywood attachment
Want to save money? Make heavy-duty brackets for under $10 per shelf. Solid steel 5/8″ threaded rods are a cheap option, costing less than $3 each.
Professional Finishing Techniques for a Polished Look
Creating a professional-looking floating shelf is all about the finishing touches. The right techniques can turn a simple wooden shelf into a stunning piece. It’s a budget-friendly way to enhance your living space.
To achieve a polished look, choose the right stain and protective methods. This enhances the wood’s beauty and makes it last longer.
Staining Options for Maximum Impact
The stain you pick is crucial for your DIY project. Here are some top staining techniques:
- Gel stains for rich, even color coverage
- Water-based stains for eco-friendly application
- Oil-based stains for deep, penetrating color
Protective Coating Strategies
Keep your work safe with these professional techniques:
| Coating Type | Durability | Best Used For |
|---|---|---|
| Polyurethane Spray | High | High-traffic areas |
| Wax Finish | Medium | Decorative shelves |
| Lacquer | Very High | Professional-grade protection |
The right finish doesn’t just protect your shelf – it tells a story about your craftsmanship and style.” – DIY Home Design Expert
For budget-friendly home renovations, test your stain and protective coating first. This lets you see the final look and avoid surprises.
Remember, the key to a professional finish is patience and attention to detail. Take your time with each step. You’ll end up with a floating shelf that looks like it’s from a high-end store.
Wall Mounting Strategies for Different Surface Types
Mastering diy furniture makeovers means knowing how to mount things on walls. Installing floating shelves is a simple home improvement project. But, your mounting strategy is key to success.
Choosing the right surface is crucial for shelf stability. Let’s look at the most common wall types:
- Drywall (65% of installations): The most popular mounting surface
- Brick Walls (30% of installations): Excellent for heavy-duty shelving
- Plaster Walls (5% of installations): Most challenging surface type
“The key to a perfect shelf is not just in its design, but in how securely it’s mounted.” – Home Design Expert
For drywall, always find the studs. They offer the most support and can hold shelves up to 50 pounds. Tip: Use a stud finder and mark the spots before drilling.
| Surface Type | Weight Capacity | Installation Difficulty |
|---|---|---|
| Drywall | Up to 50 lbs | Easy |
| Brick | Up to 60 lbs | Moderate |
| Plaster | Up to 30 lbs | Challenging |
For brick or concrete, you need special anchors. Pick anchors that match the wall material and shelf weight. Being precise and patient is crucial in these projects.
Troubleshooting Common Installation Challenges
Every first-time DIY project has its own set of challenges. Installing floating shelves can be tricky. But, with the right approach, you can solve most common problems.
Alignment Precision Techniques
It’s important to keep your floating shelves perfectly level. This is for both looks and function. Here are some tips to help with alignment:
- Use a high-quality laser level for precise measurements
- Mark wall studs carefully before drilling
- Double-check measurements multiple times
- Use temporary support blocks during installation
Resolving Weight Distribution Challenges
Proper weight distribution is key for shelf stability. DIY projects need careful planning to ensure they’re strong.
A well-supported shelf is a successful shelf!” – DIY Home Design Experts
Here are some solutions for weight distribution problems:
- Using additional support brackets
- Utilizing heavy-duty wall anchors
- Applying shim techniques for subtle adjustments
- Using hot glue for extra stabilization
Pro tip for beginners: Test the shelf’s strength by adding weight slowly. Most DIY floating shelves can hold up to 50 pounds when mounted right.
Quick Fixing Techniques
Keep these materials ready for quick fixes:
- Tape
- Wooden shims
- Hammer
- Screwdriver
- Glue gun
- Silicone dots
Remember, patience is key when starting DIY projects. Take your time, double-check your measurements, and don’t hesitate to make adjustments.
Creative Styling Ideas for Your Floating Shelves
Turning your floating shelves into stunning design features is exciting. With a bit of creativity, these surfaces can become conversation starters in any room.
Your floating shelves are blank canvases waiting to showcase your unique personality and style!” – Home Design Enthusiast
Let’s explore some upcycling projects for beginners that will make your shelves pop:
- Create visual interest by mixing heights and textures
- Balance decorative objects with functional items
- Rotate displays seasonally to keep your space fresh
Strategic styling can transform your floating shelves into design statements. Different rooms offer unique opportunities for creative display:
| Room | Styling Strategy | Key Focus |
|---|---|---|
| Kitchen | Cookbooks, ceramic pieces | 71% of styling ideas |
| Living Room | Art, plants, personal mementos | 53% aesthetic emphasis |
| Home Office | Functional decor, organizational items | 47% practical storage |
Pro tip: Don’t be afraid to experiment! Combine books, plants, and decorative objects for a balanced, eye-catching display that reflects your personal style.
Remember, your floating shelves are more than just storage. They’re a chance to express yourself through creative home design.
Maintenance Tips for Long-Lasting Floating Shelves
Keeping your floating shelves looking great is easy. With a few simple steps, you can keep your home renovations beautiful for years.
Regular care is essential for your shelves. Start with a gentle cleaning routine:
- Dust weekly with a soft microfiber cloth
- Use a slightly damp cloth for deeper cleaning
- Avoid harsh chemical cleaners
- Dry immediately after cleaning to prevent moisture damage
“A little care goes a long way in preserving your DIY masterpiece.”
It’s important to check the hardware often. Every six months, inspect the mounting brackets and tighten any loose screws. This keeps your shelves safe and looking good.
For finish maintenance, a little touch-up can make a big difference. Keep some of your original stain or protective coating handy. A quick fix can make your shelf look new again.
- Check mounting hardware quarterly
- Inspect wood for signs of wear or damage
- Touch up finish as needed
- Rotate displayed items to prevent uneven wear
By spending just a few minutes on care, your floating shelves will stay beautiful and useful for years.
Budget-Friendly Materials and Time-Saving Tips
Starting budget-friendly home renovations doesn’t mean you have to give up style. Using a 2×10 pine board from Home Depot, you can make beautiful floating shelves without spending a lot. Stair treads are a great alternative to regular lumber, cutting your cost to about $90 for three shelves.
DIY organization hacks begin with choosing the right tools. The Kreg Jig R3 system makes precise pocket holes. An orbital sander and chop saw give your work a professional finish. Pro tip: Buy materials on sale and look for cheap hardware to save more. Most shelf projects can be done in just one afternoon, making it a quick weekend task.
Customizing your shelves is important for a unique look. Try wood stains like Early American or mix Verathane sun bleached with PPG American Chestnut for a coastal farmhouse vibe. Using reclaimed wood or stair treads makes your shelves personal and affordable. Remember, careful planning and precision in installation can turn an affordable project into a beautiful home upgrade.


