Transforming your kitchen is easier than you think! As someone who loves home design, I’ve found that installing a backsplash is a great DIY project. It can make your kitchen look amazing without costing a lot. Follow this guide to create a stunning kitchen feature that looks like a pro did it.
DIY projects for beginners might seem scary, but they’re doable. A beautiful backsplash not only protects your walls but also adds style and personality to your kitchen.
If you’re new to DIY or want to update your kitchen, this guide is for you. It will show you how to do this project with confidence. Get ready to make your kitchen look amazing with your own hands!
Key Takeaways
- Backsplash installation is achievable for DIY beginners
- Proper preparation is crucial for professional-looking results
- Cost-effective way to upgrade kitchen aesthetics
- Requires minimal specialized tools and skills
- Provides both functional wall protection and visual appeal
Essential Tools and Materials for Backsplash Installation
Starting a DIY home decor project, like a backsplash, needs the right tools and materials. It might seem tough at first, but with the right gear, you can turn your kitchen into a new space quickly!
Must-Have Tools for DIY Success
First, get these key tools for a smooth installation:
- Tape measure
- Tile cutter
- Notched trowel
- Level
- Tile spacers
- Rubber mallet
- Mixing bucket
The right tools can make or break your DIY project!” – Kitchen Design Experts
Choosing the Right Backsplash Materials
For your project, pick from these materials:
- Ceramic tiles: Affordable and versatile
- Glass tiles: Modern and sleek
- Subway tiles: Classic and timeless
- Peel-and-stick tiles: Easy for beginners
Safety Equipment Checklist
Keep yourself safe with these safety items:
- Safety glasses
- Work gloves
- Dust mask
- Knee pads
Pro tip: Always put safety first in-home projects. The right gear can prevent injuries and make your work more fun!
Understanding Different Backsplash Types and Styles
Choosing the right backsplash can change your kitchen. It brings out the kitchen’s personality, making it look amazing. This turns a simple space into a beautiful place to cook.
When looking at budget-friendly home renovations, backsplash options are wide. Let’s look at the most popular styles:
- Subway Tiles: Classic, clean, and versatile design that works with almost any kitchen aesthetic
- Mosaic Patterns: Adds visual complexity and artistic flair to your kitchen walls
- Glass Tiles: Modern, reflective surface that makes spaces feel larger and brighter
- Ceramic Tiles: Affordable and durable option for budget-conscious homeowners
“The right backsplash can elevate your kitchen from ordinary to extraordinary.” – Design Experts
Think about your kitchen’s colors and style when picking a backsplash. Some materials fit modern kitchens well, while others suit traditional ones.
Pro tip: Try out tiles before you decide. Many stores have small samples you can take home to see if they fit your idea.
Preparing Your Kitchen Wall for Installation
Starting a DIY furniture makeover project needs careful prep, like when installing a backsplash. The success of your kitchen makeover depends on wall surface prep.
Wall Surface Assessment
Before starting your daily organization hacks, check your kitchen wall well. Look for these key things:
- Surface evenness and smoothness
- Existing damage or imperfections
- Signs of moisture or previous water damage
- Paint condition and adhesion
Cleaning and Repairs
A clean surface is key for backsplash installation. Begin by removing:
- Grease and cooking residue
- Old caulk or sealant
- Loose paint or wallpaper
“Proper wall preparation is 50% of a successful backsplash installation” – Professional Tile Installer
Surface Priming Guidelines
| Surface Type | Recommended Primer | Application Tips |
|---|---|---|
| Drywall | Acrylic Bonding Primer | Use a roller for even coverage |
| Painted Surface | Specialty Tile Primer | Sand lightly before application |
| Ceramic/Existing Tile | Epoxy-based Primer | Ensure complete surface cleaning |
Pro tip: Always let the primer dry fully before tiling. Rushing this can ruin your whole project!
DIY Backsplash Installation Step-by-Step Guide
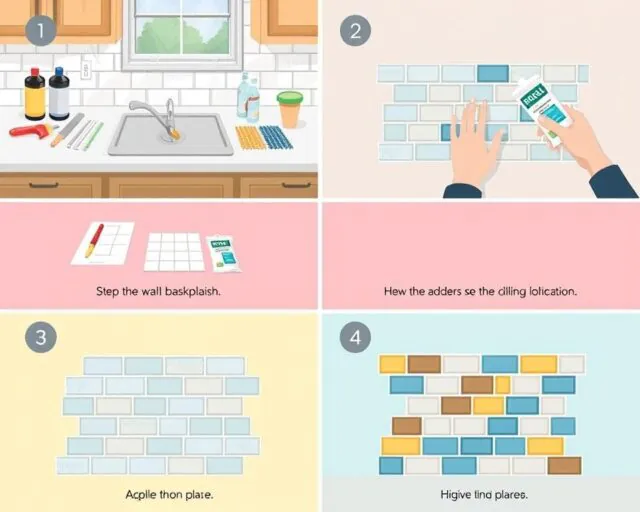
Starting upcycling projects can feel daunting, but a backsplash is a great first DIY task. I’ll guide you through each step to make your kitchen look amazing.
First, make sure you have everything you need and your workspace is ready. DIY projects need patience and planning.
- Prepare your work surface by cleaning thoroughly
- Apply adhesive evenly using a notched trowel
- Start placing tiles from the bottom center, working outwards
- Use spacers to maintain consistent gaps
- Cut tiles precisely for edges and outlets
“Measure twice, cut once” – This classic DIY motto will save you time and frustration!
Here are some tips for placing tiles well:
- Keep tiles level using a laser line
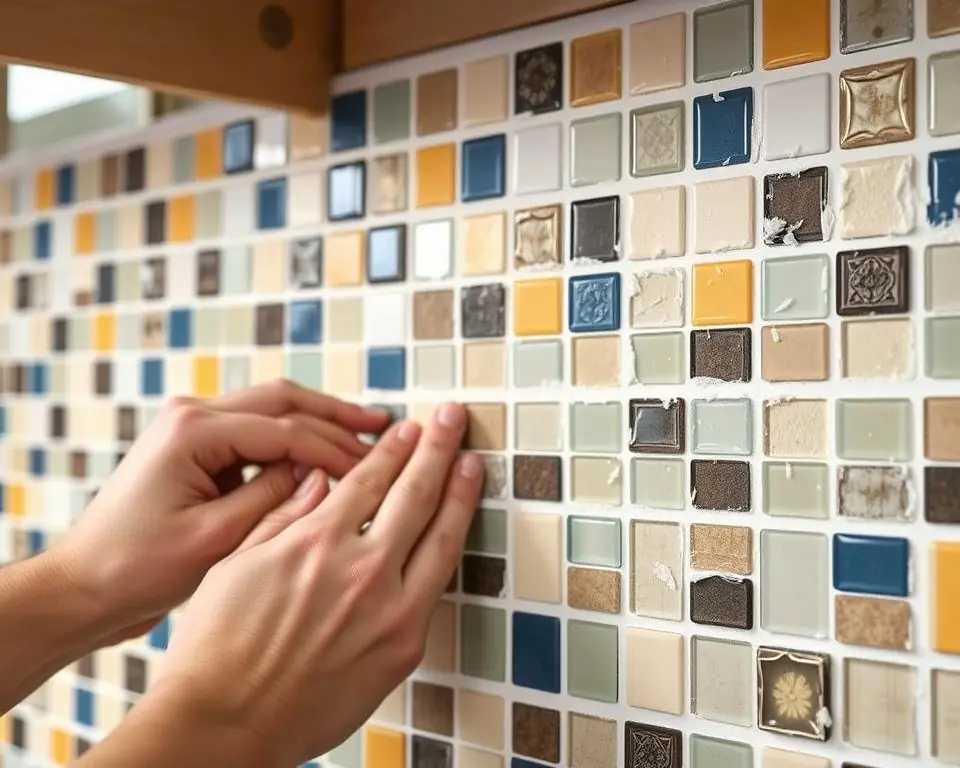
- Press tiles firmly into the adhesive
- Remove excess adhesive immediately
- Check alignment frequently
| Common Challenge | Solution |
|---|---|
| Uneven surfaces | Use self-leveling compound before installation |
| Cutting around outlets | Use tile nippers or a wet saw for precision |
| Adhesive application | Apply in small sections to prevent drying |
Pro tip: Take your time and enjoy the process of creating something beautiful with your own hands!
Follow these steps, and your backsplash will look like a pro did it. Remember, the more you do, the better you’ll get at DIY projects.
Measuring and Planning Your Layout Pattern
Starting diy home projects can seem daunting. But, making a backsplash layout is simple. With careful planning, your kitchen can transform into something amazing.
Before you start with tiles, you need a good plan. Backsplash installation, like easy DIY crafts, needs precision and preparation.
Creating a Design Template
First, get these tools ready:
- Graph paper
- Measuring tape
- Pencil
- Ruler
Draw your kitchen wall’s measurements on graph paper. This map helps you:
- See where the tiles will go
- Find areas for cuts
- Avoid bad tile spots
Calculating Material Requirements
Pro tip: Buy 10-15% more tiles for cuts and breaks. Calculate your wall’s square footage. Then, multiply by your tile’s size to find how many you need.
Avoiding Common Layout Mistakes
“Measure twice, cut once” – A golden rule in home improvement!
Watch out for uneven spacing, bad pattern alignment, and not enough tiles. Plan well, and your backsplash will look like a pro did it.
Mixing and Applying Adhesive Properly
Starting your kitchen backsplash project? Mixing adhesive correctly is crucial. The right consistency is essential for a successful tile installation.
Choosing the right adhesive is important. It depends on your tile and wall type. Each tile needs a specific adhesive for strong bonding and lasting results.
- Ceramic tiles: Standard tile adhesive works best
- Glass tiles: Use specialized clear or white adhesive
- Natural stone: Requires premium modified thin-set mortar
“Proper adhesive preparation is the foundation of a professional-looking backsplash.” – Professional Tile Installer
Mixing the adhesive is key. Start by adding water slowly to the powder, stirring well to avoid lumps. Aim for a smooth peanut butter consistency.
| Adhesive Type | Best Used For | Mixing Ratio |
|---|---|---|
| Premixed Adhesive | Small Projects | Ready to Use |
| Powder Adhesive | Large Installations | Water per Package Instructions |
Pro tip: Work in small sections to prevent the adhesive from drying before tile placement. Use a notched trowel to create consistent ridges and ensure even coverage.
Cleaning up is easy with the right tools. Keep a damp sponge ready to remove excess adhesive before it dries. Your hard work will pay off with a beautiful backsplash.
Cutting and Fitting Backsplash Tiles
Installing a backsplash is a simple home improvement project that needs precision and patience. Cutting tiles might look hard, but with the right methods, you’ll get the hang of it fast. This is key for your budget-friendly home renovations.
Mastering Tile Cutting Techniques
Choosing the right tile cutter is key for clean, professional results. Manual tile cutters are best for straight cuts. Wet saws are better for complex shapes.
- Wear safety glasses and work gloves.
- Mark cutting lines with a pencil and straightedge
- Practice on spare tiles before making final cuts
Navigating Challenging Cuts
Working around outlets and corners needs extra care. Use a tile nipper for small, detailed cuts. A diamond-tipped drill bit is good for precise holes around electrical outlets.
“Measure twice, cut once” – A golden rule for DIY tile installation
Pro Tips for Complex Cuts
- Create a paper template for complex areas
- Use painter’s tape to reduce chipping
- Take your time and work methodically
Remember, getting better at cutting tiles takes practice. Each cut will make you more skilled. This will make your budget-friendly home renovations look more professional with every tile you install.
Grouting Techniques for a Professional Finish
Improving your backsplash from good to great is all about mastering grouting techniques. Whether you’re working on DIY furniture makeovers or exploring diy organization hacks, the right grouting can make your kitchen look amazing.
Choosing the right grout color is key. Pro tip: Pick a shade that complements your tile but doesn’t match it exactly. This adds depth and interest to your kitchen.
“The key to perfect grouting is patience and precision.” – Kitchen Design Expert
Mixing grout needs careful attention. Here’s how to get the perfect mix:
- Measure water precisely
- Add grout powder gradually
- Stir until smooth like peanut butter
- Let sit for 10 minutes before application
| Grout Type | Best For | Difficulty Level |
|---|---|---|
| Sanded Grout | Wider tile joints | Moderate |
| Unsanded Grout | Narrow tile joints | Easy |
| Epoxy Grout | High-moisture areas | Advanced |
Apply grout diagonally across tile joints with a rubber float. Work in small sections to avoid drying too soon. Use a damp sponge to wipe off excess grout, but be careful not to remove too much.
Wait until the grout is fully dry before sealing. This step protects your backsplash and gives it a professional, lasting finish. Your DIY project will look amazing.
Sealing and Maintaining Your New Backsplash
You’ve just finished your first DIY project, and now it’s time to protect your new backsplash. Sealing is key to keep your tiles looking great and prevent moisture damage. Choose a high-quality sealant that matches your tile material, like ceramic, glass, or natural stone.
Maintaining your upcycled project is easy. Use a soft microfiber cloth and a gentle cleaner to wipe your backsplash weekly. Stay away from harsh cleaners that could scratch your tiles or harm the sealant. Keep a spray bottle with mild tile cleaner near your cooking area for quick clean-ups.
Regular checks are important for your backsplash’s long-term health. Inspect the grout lines every few months for wear or small cracks. If you find any issues, apply a fresh coat of grout sealant right away. This simple step will keep your kitchen looking great and your investment safe.
By following these maintenance tips, your DIY backsplash will stay a stunning kitchen highlight. The hard work you put into installing it will pay off with a beautiful, lasting feature. You’ll be proud to show it off to friends and family!


